
Wedding Photography
Planning Guide
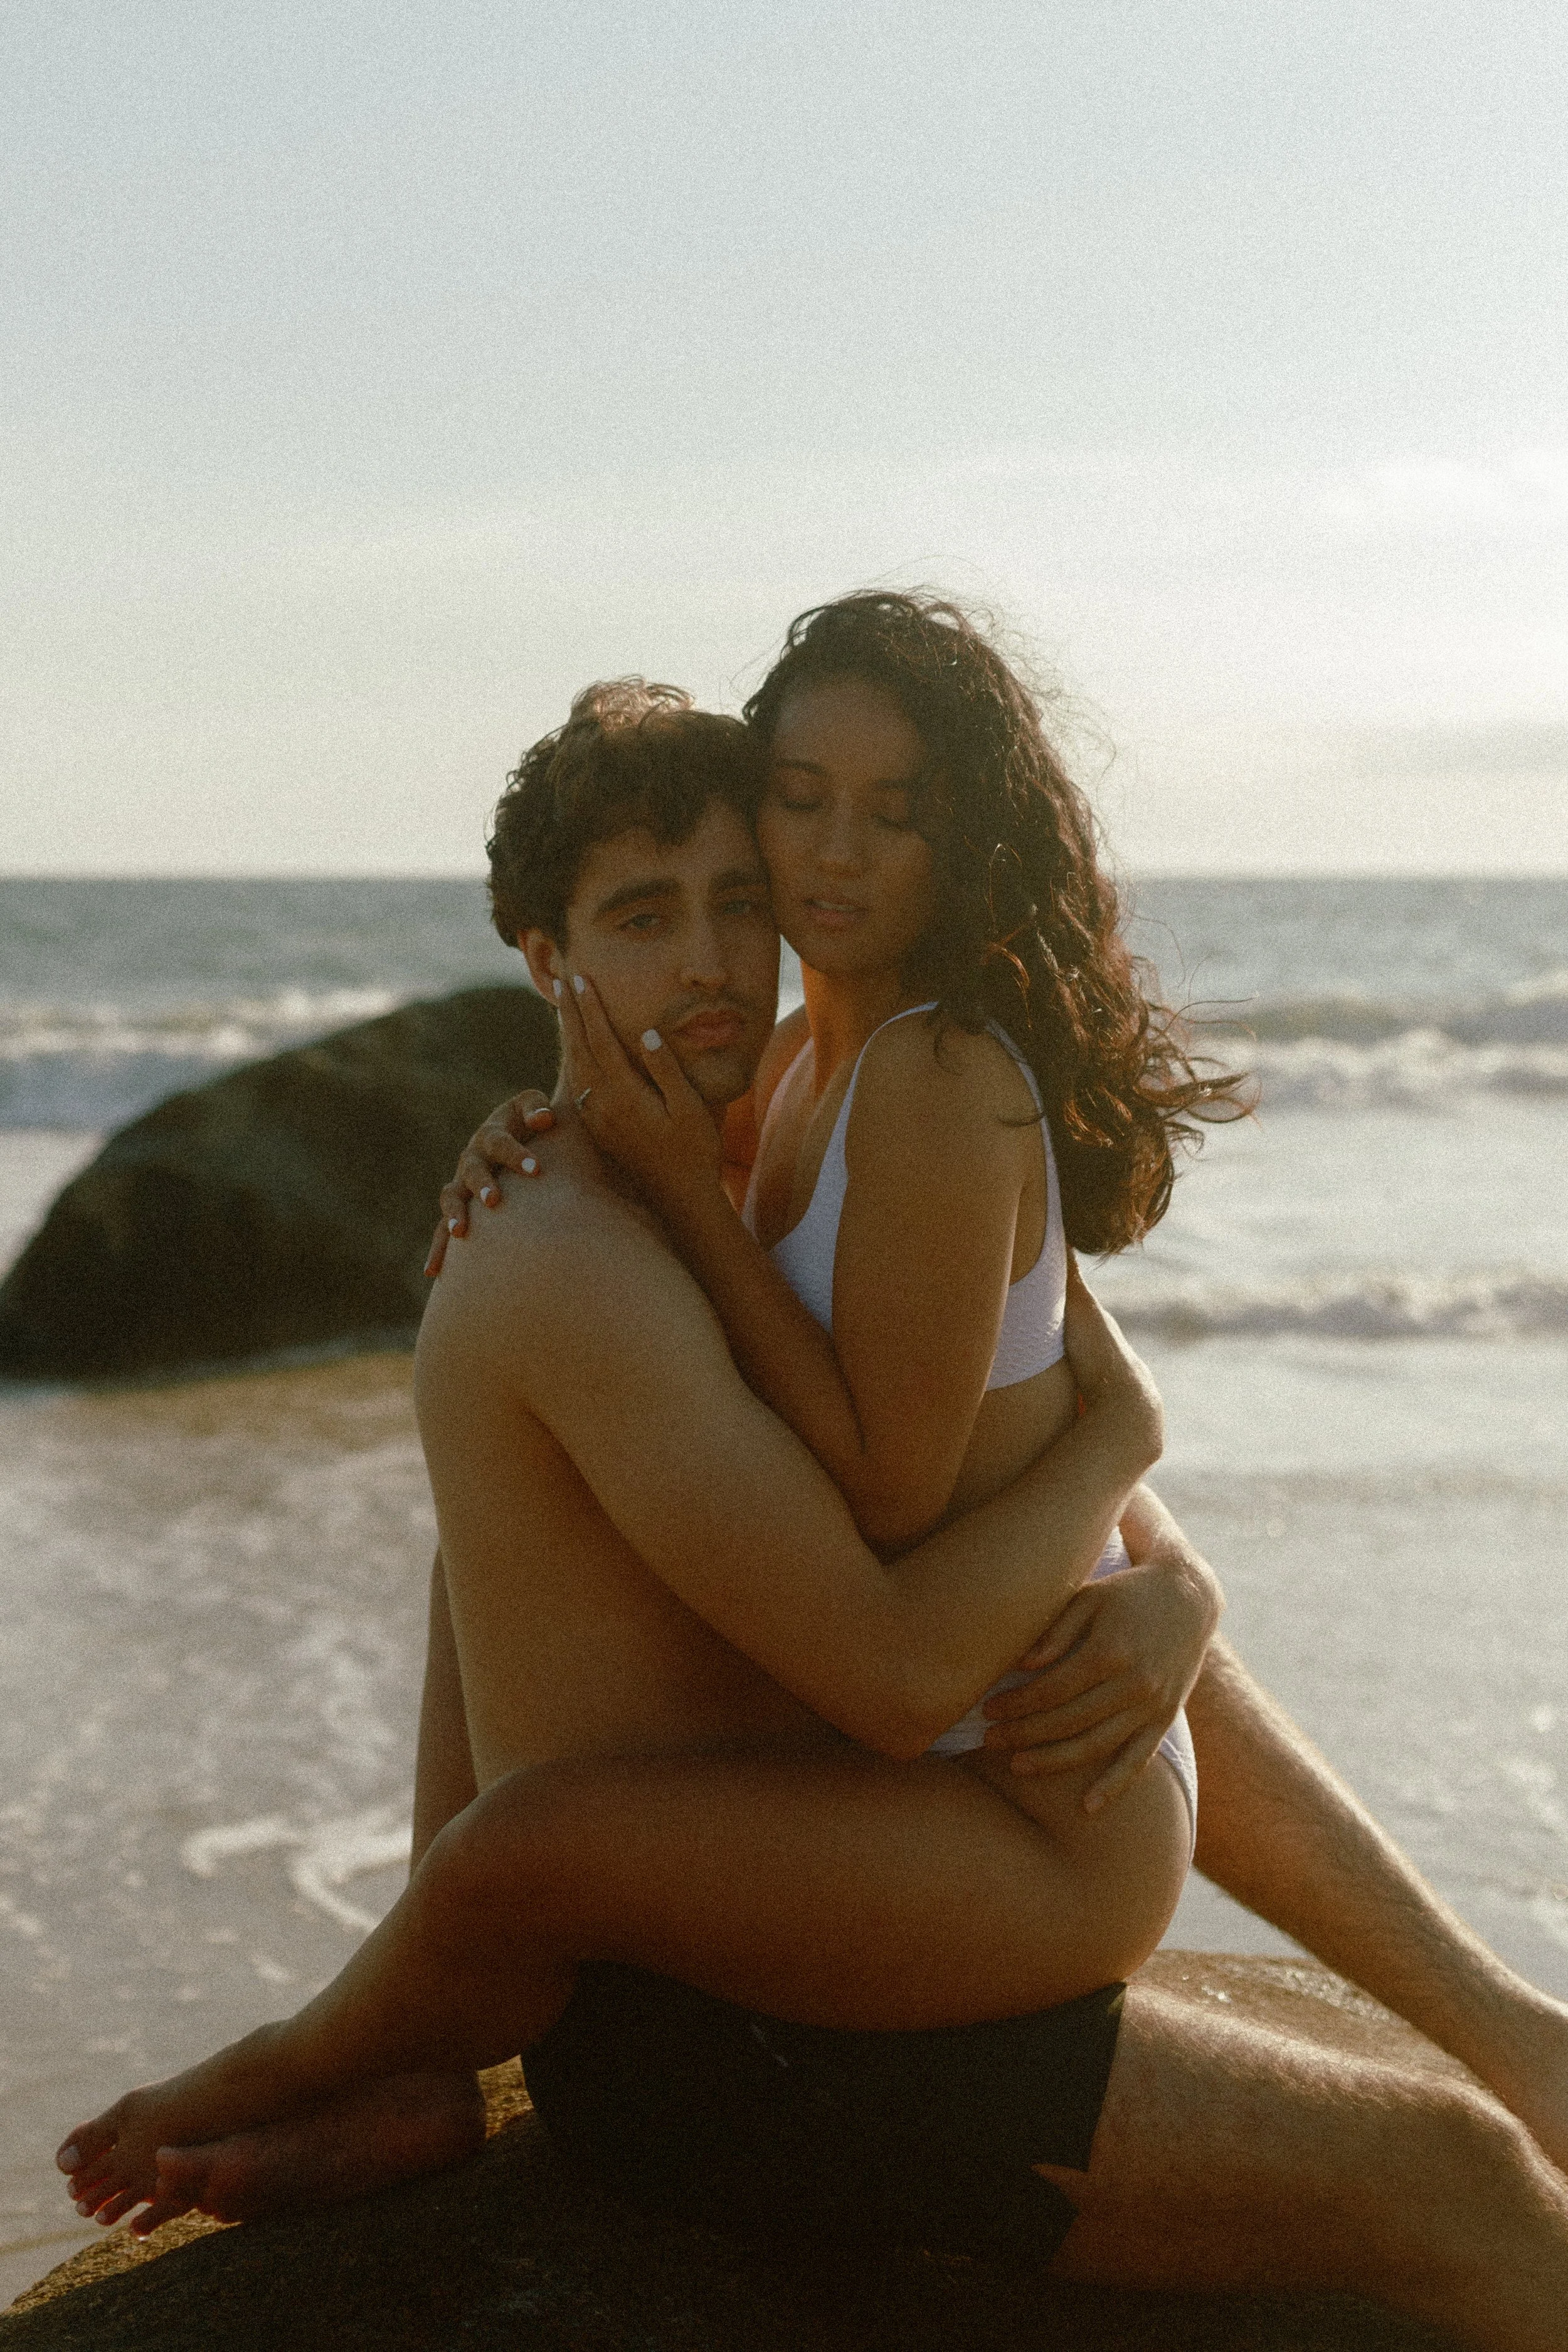
Let's tell your story.
Remember how it felt.
Let's tell your story. Remember how it felt.

This guide helps to gear things towards your love, and to intro. wedding planning from a well rooted space in your love.
We know engagement can sometimes come with a seemingly long list of “to-do’s”; but, we’re here to tell you it doesn’t have to be that way. There’s no reason your day has to ever be a copy & paste and follow the ‘status quo’ - it should reflect your love in the loudest way possible. Dig in:
Contents,
You’re engaged!
Now what?
-
It’s easy to get excited planning your dream wedding day, that sometimes the season of engagement can sometimes fall by the wayside. We want to make sure we remind you two just how special this exact moment is & to truly take the time to soak in this chapter. Set aside time to have dance parties in the kitchen, sip some champagne while you listen to your favorite playlist that reminds you of your favorite memories thus far (hey, maybe this is a great way to brainstorm your first dance song if you don’t already know it). These are great ways to also begin creating the plans for wedding day. If planning is done in simultaneous engagement celebration - it can take away a lot of the weight of this to-do list!
-
While you’re sippin’ that bubbly, break out a pen and paper. Creating a must have checklist prior to beginning your vendor/inspo hunt can be so helpful throughout this process. Are there people, places, things that you two absolutely know must be present (and documented) on your best day? What hopes, dreams, and desires do you have when you envision your wedding day? Write these down! List them in order of most important to least important. Once you can zero in on these pieces, it’s far easier to build out your wedding day budget. You can funnel this list into your budget so you know which pieces take precedent over the others, and which vendors you need to lock in first so you know you aren’t going to have to sacrifice those important/favorite vendors.
-
Selecting vendors can sometimes be a trying task; but we want to reel you two back to the best advice we can give: Choose your team the way you choose your friends. If you not only love their work but also feel as if you connect immediately and you’ve known them longer than the time it took to find them on Google - reach out! Hop on a call, and ask any questions you might have. The more you ask, and the more details you share - the easier it is to find out if each vendor is going to truly make or break your ‘A Team’, before, during, and after wedding day. Most vendors will be able to share portfolios, reviews, and experiences for you to peek at and get a feel for what it’s like to work with them and what they bring to the table. Definitely ask to see all of these!
Your Dream Team
& The Roles They Play


Who?
Venue // Wedding coordinator // Photographer // Videographer // Florist // Hair stylist // Makeup artist // Nail technician // DJ / Band // Cake and/or bakery // Caterers // Mobile eatery // Dress & gown shops // Seamstress // Stationary // Jeweler // Officiant // Mobile bars // Rentals
When?
Each vendor plays a small role in bringing your dream wedding day to life. Some begin the day with you, some join after you say, “I do”, and others are with you - start to finish.
Each of these time frames are important in future steps of planning your timeline. For example:
How much time do your HMUA’s need? What time can/will your florals arrive? Is there a pre-slotted ceremony time required? Does your caterer offer a plated service or buffett? How might this impact your timeline and how can vendors work together to accommodate each of their needs to assure things run seamlessly?
Why?
Remember that must have checklist? Filter in each vendor to meet your dreams and vision. If there is a specific reason you chose that vendor - be sure to share that with your photographers and videographers who will be with you for the entirety of your day.
Did you incorporate the same venue your own parents got married in? Is Grandma’s favorite music being played and you’re fully anticipating her boogying down on the dancefloor? We want to make sure we document this!
Timeline Planning
& Documenting It

Every wedding day is unique,
and your timeline should reflect that. However, as professionals in the industry we have a lot of feedback to give on what works and what doesn't timeline-wise and know how to best structure your day to accommodate the photography portion as well! So if you're stumped - we're here to help! On the next few pages, we offer tips + suggestions that we highly recommend you consider before starting to build out your wedding day timeline. We give you some buckets of time to consider to give you an idea of how long each part of the day typically takes to photograph. We also provide you with an example timeline that you're welcome to use as-is or shift to fit your wants/needs for the day!
-
Small details, 30 minutes - When we say "detail shots" we mean two different things: One is your "flatlay details" AKA - all the small pieces that made your day special: shoes, rings, jewelry, invites, save-the-dates, florals, tie, cologne, etc.
We usually start with photographing these details right when we arrive so we can give them back to you two ASAP to finish getting ready with!
The other "detail shots" we're referring to are shots of the ceremony & reception space set up with all of your decor! The goal is to snap these details before anyone filters into the room(s). Therefore, we suggest setting aside 15-30 minutes before ceremony or before guests arrive for us to snag those shots!
Getting ready (either side), 15-30 minutes - A lot of hair + makeup artists suggest setting aside 3-3.5 hours to complete hair and makeup.
However, this may shift depending on how many people are in your bridal party. Photographers usually aren’t there for the majority of that time, but show up a little later once everyone’s final touches are being made. We usually suggest 30 mins with each side.
Getting into dress/attire, 30 minutes
Per first look, 15 minutes - A first look can be done with anyone who you want to see you in your wedding attire for the first time and/or share an intimate, private moment with before the ceremony. This can be your partner, a parent, a grandparent, your children, your pet, etc.
However, doing a first look with your partner before ceremony allows you two to let your emotions be more natural in a more intimate setting. You can also take the opportunity to read letters with, or to, one another, as well as vows if you would rather not read them aloud during your ceremony.
Another plus of doing a first look with your partner is it can save you a lot of time post-ceremony and allow us to get the bulk of your images done before ceremony (including bridal party and immediate family)!
Newlywed portraits, 30-60 minutes - SUNSET. SUNSET. SUNSET. Have we mentioned sunset!? But seriously, we highly suggest blocking off time in your schedule around sunset for your newlywed portraits! We always suggest sneaking out 15-30 minutes before the estimated sunset time to get the most out of "golden hour".
However, since weather doesn't always work in our favor, we always suggest squeezing in time for your newlywed portraits twice within your schedule: once at sunset and once earlier in the day (either before or after ceremony, depending on whether or not you two do a first look)! The recommended total of time set aside for you two is a minimum or 30 minutes & up to 1 hour.
Bridal party & family portraits, 30 minutes each - We suggest taking bridal party + family photos either before ceremony, or directly after ceremony during cocktail hour (this depends on whether or not you two do a first look)! We also recommend putting someone in charge of helping wrangle family members and/or telling the officiant, or DJ, to make an announcement right after ceremony for them to stay close by for group photos! Also be sure to share a list of any family & group combinations with us so we can call out the names and groups as we go and make sure we don't miss anyone!
Pre ceremony prep/venue shots, 30 minutes
Ceremony, 30-60 minutes - We always suggest having an "unplugged ceremony", meaning to remind your guests to turn off their cameras + cell phones, or at the very least steer clear of the aisles and keep them above their heads so we can make sure we're capturing all the right moments uninterrupted!
Cocktail Hour - One of the biggest pieces of advice we can give is to make sure you aren't keeping your guests waiting!
AKA- cocktail hour shouldn't drag on for too long and the flow of events should keep your guests entertained and fed in a timely matter. A good rule of thumb is that cocktail hour shouldn't be longer than an hour, and dinner should start roughly 30-45 minutes after reception begins.
Reception - For the reception portion of the evening, we always recommend this order of events: grand entrances - cake cutting - speeches - dinner - first dances - open dance - bouquet + garter toss. We suggest getting grand entrances, cake cutting, and speeches done before dinner for a few different reasons: A) Everyone is guaranteed to be seated and at-attention. B) Your caterer will then have time to prepare and slice the cake before it's served for dessert. C) Getting those reception pieces out of the way in one quick go will allow for less interruptions during dinner so you two and your guests can fully relax + enjoy your meals!
Grand entrance + cake cutting, 15 minutes
Speeches, 15-20 minutes
Sunset portraits, 15-30 minutes
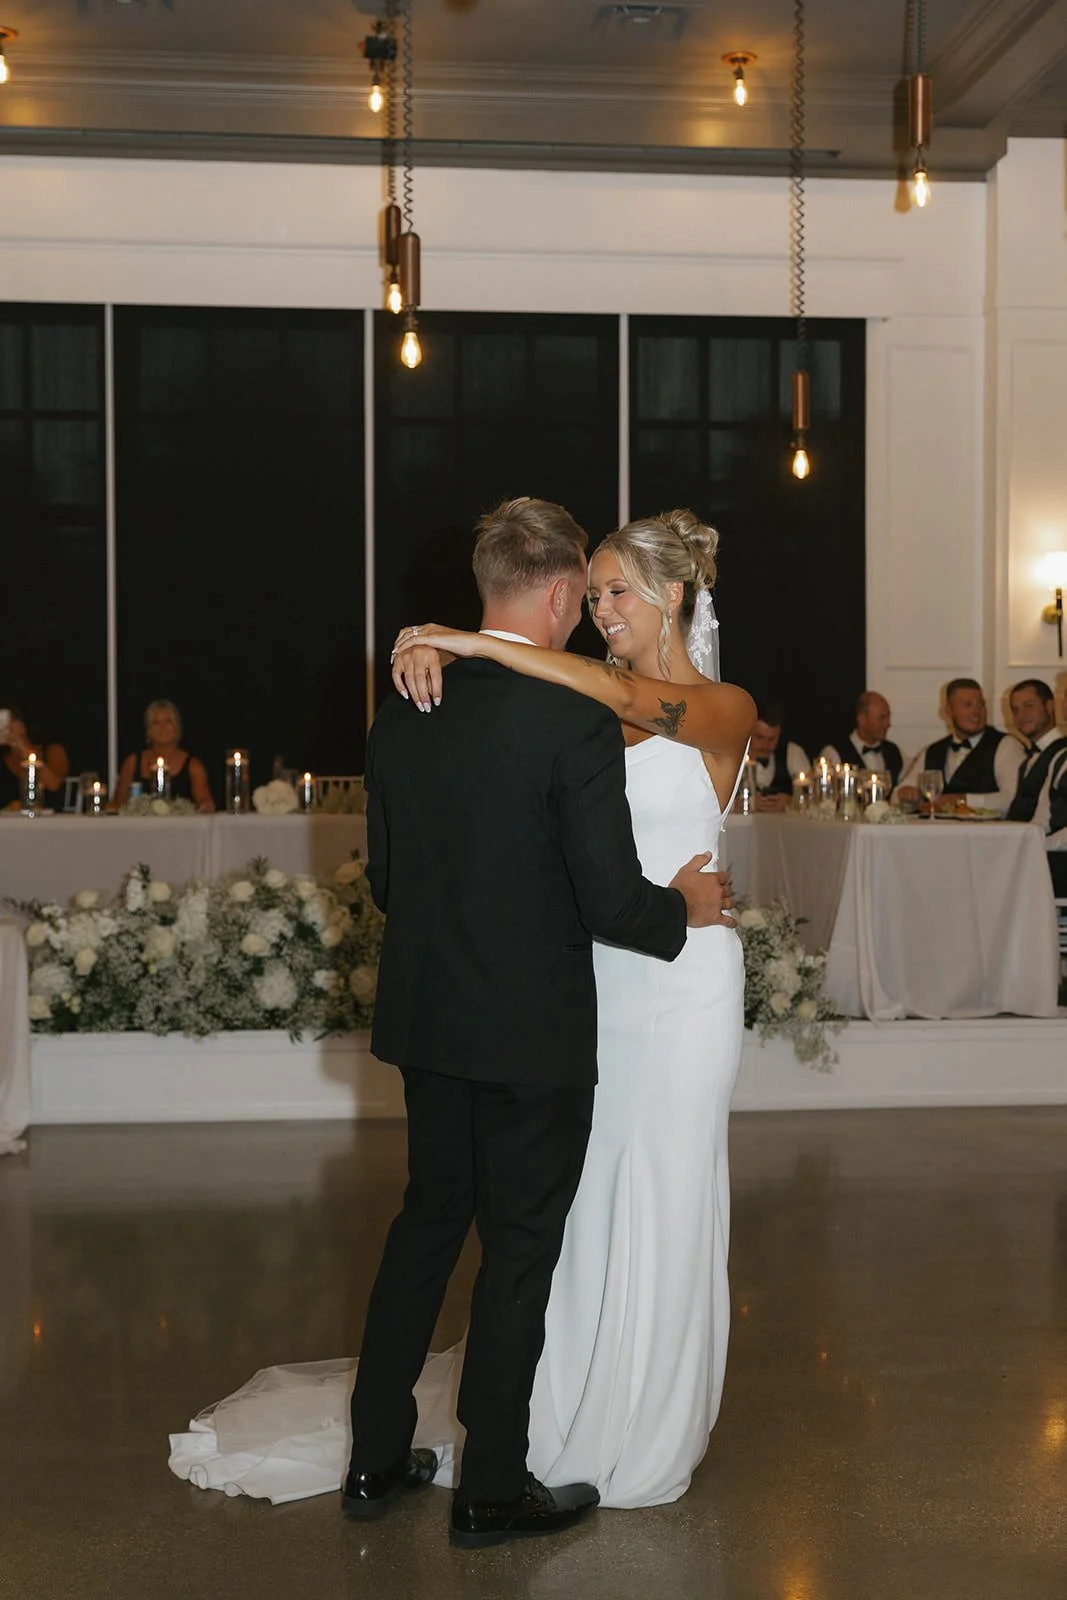
First dances, 16 minutes
Open dance, 30-60 minutes
Table Photos - If you're wanting to take photos with all of your guests at each table, we have a quick and seamless way to do it!
We like to turn this into a fun little game. How it works: your DJ would play an upbeat song, with the "game" being to try and take a photo with every table before the song is over! If this is something you'd like to incorporate, we suggest squeezing this in right after grand entrances and right before dinner is served since everyone will be in their designated seat! It's a lot harder to wrangle people for group shots after dinner since people tend to get up and wander around!
-
Factor in Sunset! You’ll want to build your schedule around sunset so you have enough daylight to capture the bulk of your images. Keep in mind that sunset is different at different times of the year. In the Summer, you have a ton of time to capture all of your photographs in natural light; however, once Fall hits, and the sun begins to set earlier, considering a first look between the two of you so we can knock out a majority of your images before we run out of daylight is a smart idea OR, have a 1.5 hour cocktail hour!
Share your schedule with more people than not. Make sure to share your schedule with all of your vendors and even a few members of your family or bridal party. The more people looped in who can help stay on top of schedule, the better!
Factor in travel time to / from locations (AKA if you'll be getting ready or hosting ceremony at separate locations from the reception).
Create "buffers" in your timeline to give you enough time so your day can unfold naturally; and, to account for any hiccups, delays, or travel.
A good rule of thumb is to have your wedding photography coverage start 4.5 hours before sunset and 3 hours before ceremony.
Have a back-up plan for if it rains! We cannot control the weather as much as we wish we could, so always having a plan b (or c) is crucial!
Trust us as your photographers on your best day ever: hash out a loose schedule with us and communicate your photography needs for your day! Remember that we will be on top of it!
-
12:30p - Photography coverage begins/Detail shots
1:00p - Getting ready
1:30p - Getting in your wedding attire
2:00p - Couples first look & formal portraits
2:30p - Bridal party
3:00p - Break for ceremony
3:30p - Ceremony
4:00p - Formal exit & cocktail hour begins
4:15p - Formal family portraits
5:00p - Guests begin seating
5:15p - Grand entrance & cake cutting
5:30p - Speeches
5:45p - Dinner is served
6:15p - Newlyweds sunset portraits
6:30p - Estimated sunset
6:45p - First dances followed by open dance
8:30p - End of photography coverage

Lighting scenarios
& Planning for sunset
Let's break down some of the most common lighting situations that we may run into on your wedding day, and what this may mean for your photography. Some of these scenarios may be unavoidable and may change throughout the day, especially because we cannot control the weather! However, we always come prepared with the necessary gear and equipment to combat these challenging lighting situations! We highly encourage you to consider these lighting scenarios when you're planning your day of events, and to be aware of how different types of lighting may impact your final photos.
we’re always chasing light
-

Golden Hour
Golden hour is our absolute flippin' favorite lighting scenario! Golden hour typically occurs 1-1.5 hours prior to sunset on a clear or partially cloudy day. The sun is low in the sky, which disperses the light and makes it even, warm, soft, and beautiful! Golden hour is the perfect time to take your portraits of the two of you (if the weather allows)!
-

High Noon
High-noon, or when the sun is high in the sky & no clouds are in sight, the light is considered "harsh" & creates a lot of dark shadows, bright highlights, and high-contrast. If you have the option to do so, we always recommend placing your ceremony in the shade or facing it away from the sun to avoid this as best as possible!
-

Rain & Overcast
Rain & overcast can sometimes make photos appear flat, dull, and lack warmth. However, the clouds create a giant "softbox" that disperses the light and makes the lighting nice, soft, and even on subjects when pointed towards the sun.
-

Backlit
Backlighting can be gorgeous; however, sometimes the background can create incredibly bright highlights which reduces the detail surrounding the subjects we are exposing for.
Backlighting looks incredible to the naked eye, and if you’re okay with having bright highlights behind you with less detail in the background, let’s do it! To avoid this, you could position yourself a wider distance away from the light; or, you could opt to hang sheer curtains to soften the light.
-

Artificial & Mixed
Artificial lighting/mixed lighting may happen if we shoot indoors. This is where we get a mix of natural and artificial light. This creates uneven color temperatures and color casts. If we have enough natural light coming in from the window, and schedule allows, we will ask to turn off any artificial light sources to avoid mixed lighting!
-
Light Colored Rooms
Rooms with light or white colored walls or ceilings are ideal because they provide surfaces to bounce light off of and brighten up the room - giving us enough light to work with to create a stellar exposure! Light or white tents also create a similar effect.
-

Dark Colored Rooms
Rooms with dark colored walls or ceilings can be a challenge to photograph in because there is a lack of light. If lights cannot be brightened, we will typically try to utilize an on or off-camera flash set-up to add some additional lighting to the room (unless it's during your ceremony where the use of flash can be distracting or in some instances, your venue/church does not allow).
Let's tell your story.
Remember how it felt.
Let's tell your story. Remember how it felt.